Vintage Refinished White Dark Wood Mid century Dresser
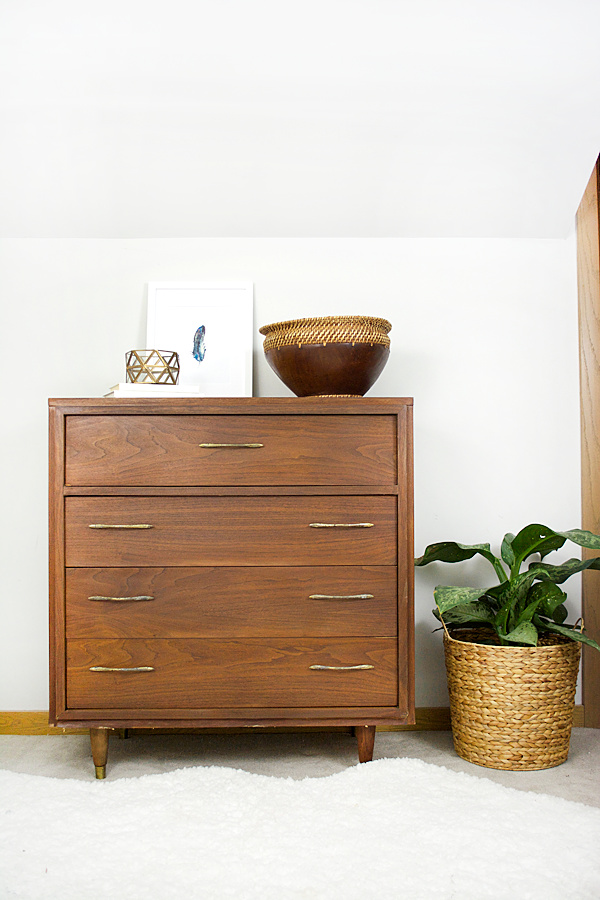
If you're anything like me, I'm always on the hunt for some good mid century furniture. But if you buy it retail, it's usually pretty pricey. So I've always got my eye on craigslist and thrift stores for those hidden gems. One thing a lot of them have in common though is scratched up veneer. And I've definitely passed up a bunch of pieces because I wasn't sure how I could fix it. But it's really not as scary as it looks.
Even on Craigslist, a good mid century piece can go for hundreds of dollars, so any time I find one for under $100, I have to give it a chance at a new life! Plus we needed some new bedroom furniture anyway so it was a no brainer.
How to Refinish a Mid Century Veneer Dresser

Before I get into it I need to apologize because I was a terrible blogger and forgot to take before pics. I tried emailing the girl I originally bought it from but she only had one awful blurry iphone photo that wasn't even worth sharing. I did manage to get a before shot of the legs so humor me and imagine the rest of the dresser looking similar to this. There were a lot of scratches and dents and it was just in overall not great shape.
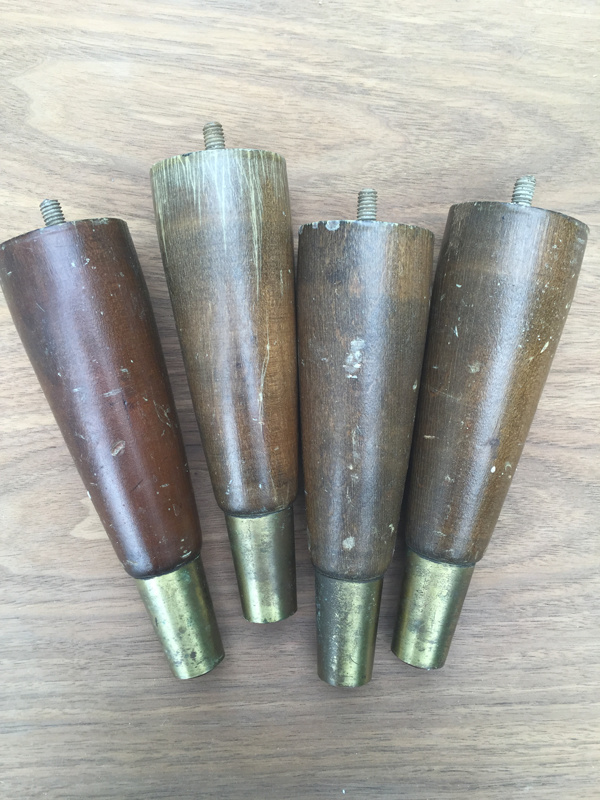
I scored this sucker for $40 which was a steal. It had great bones and all the hardware and all the drawers worked properly. It just needed a little cosmetic update. I got it back when we lived in Erie just before I was about to pop, so it's been a little neglected. Apparently babies need a lot of attention 😉
Our new bedroom is massive, with an awesome walk in closet, but we still needed a dresser for some of our other clothes. This gave me the motivation I needed to finally get to work on this guy.
STEP 1
Wash down your dresser with a damp rag to remove any gross dirt. I usually use a wet paper towel first and then once it's dry I'll use a clorox wipe to remove any left over residue. I suggest working on this project outside or somewhere that has good ventilation.
STEP 2
Sand! You'll want to check the thickness of your veneer before you start so you have an idea of what grit sandpaper to use. If your veneer is really thin, I would stick to a medium or even fine grit sandpaper. The veneer on this piece was super thin, and I used a medium grit and the sanding went SO quickly. You'll be surprised how fast it comes off once you get started.
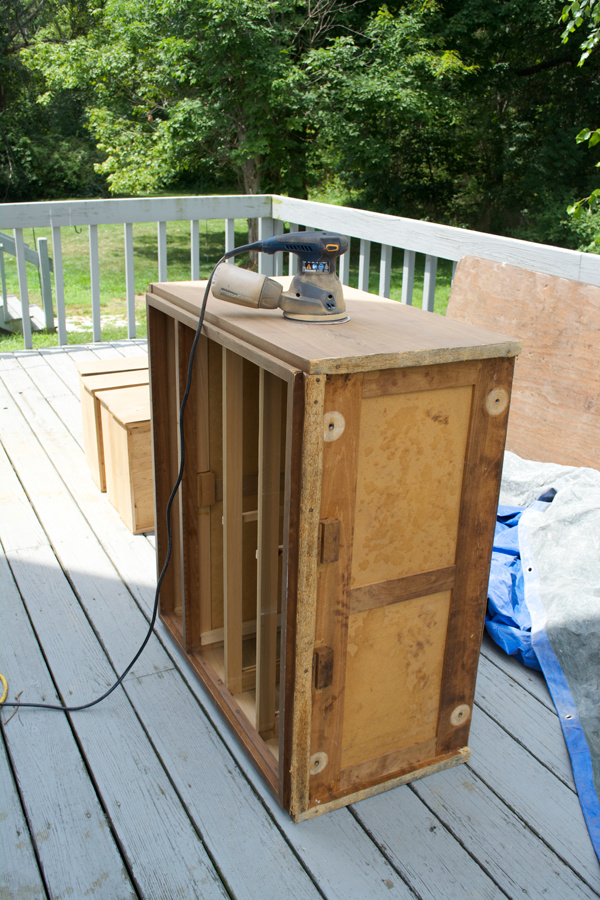
That's always part of what scares me the most when I see pieces like this that need refinishing. If the veneer is really thick, sanding can take a super long time. Luckily I got this whole thing sanded in about a half hour.
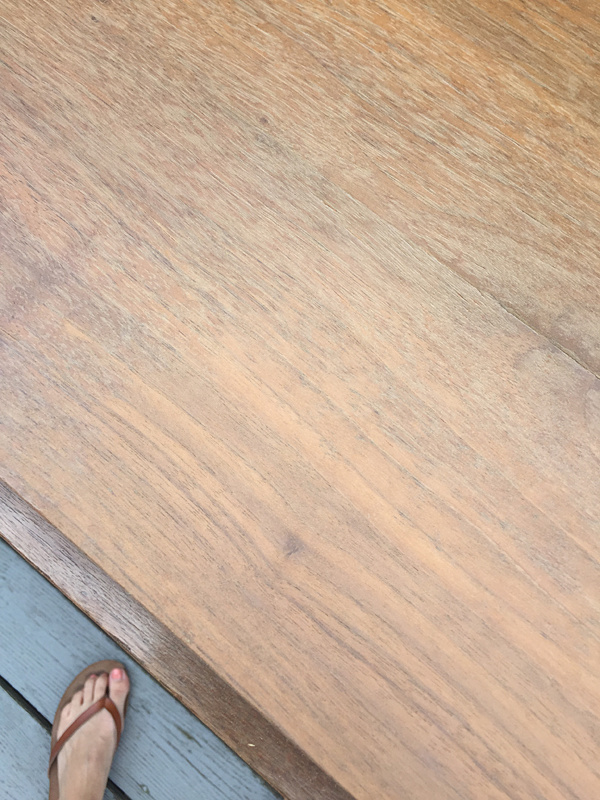
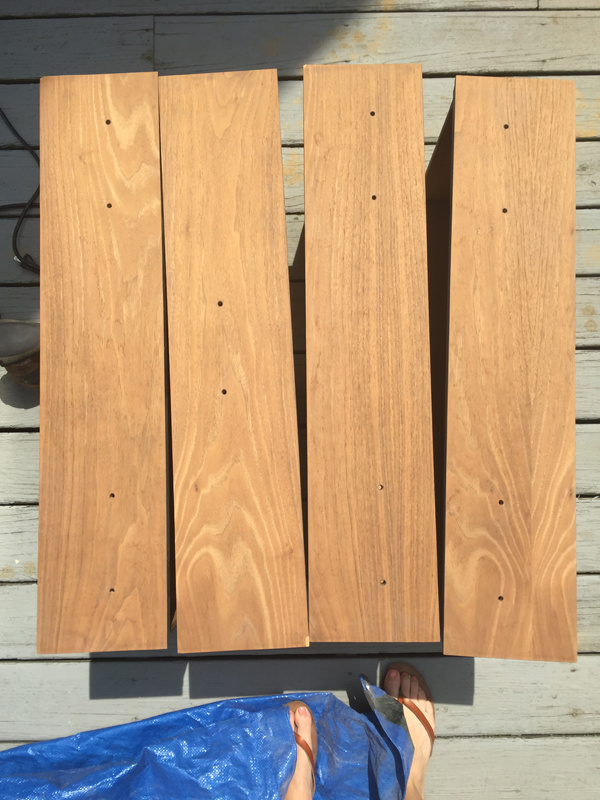
You can see the wood is still kind of tinted a darkish color. You don't want to sand it too hard or you'll start to chip away at the particle board.
For the legs and for the smaller ledges on the dresser, I used a piece of sand paper and sanded them by hand. You could also use a sanding block but what I like about using a piece of paper is that you can wrap it around the legs and cover a lot of surface area at once!

There's just something I love about fresh, raw wood <3
STEP 3
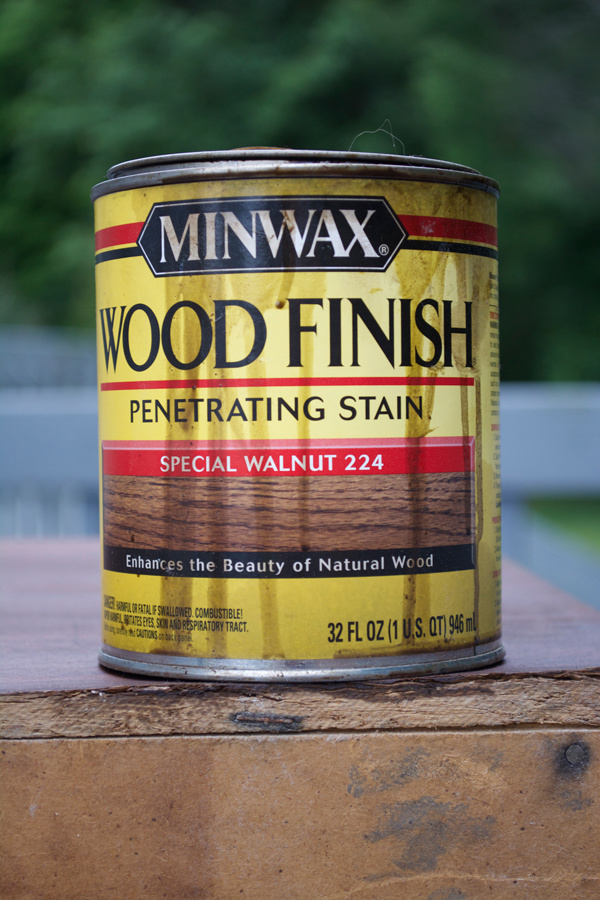
Stain! I used Special Walnut 224. My usual go to is Dark Walnut but since I wasn't applying my stain to raw wood and it already had some color to it, I went with this color instead. It's a beautiful medium brown color that still allowed some of the grain to show through.
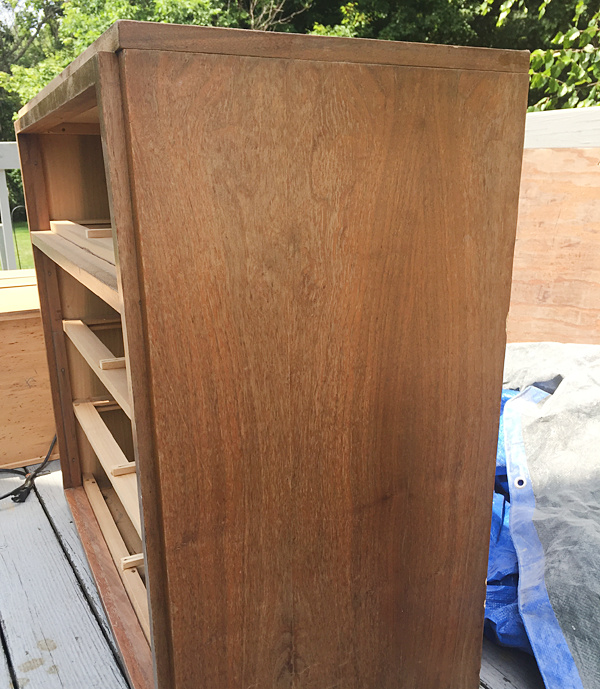
I love the color it ended up having!
STEP 4
Seal that baby up. I used Minwax's Polycrylic in clear satin. I'm not a fan of a super shiny finish and this is perfect for something a little more matte.

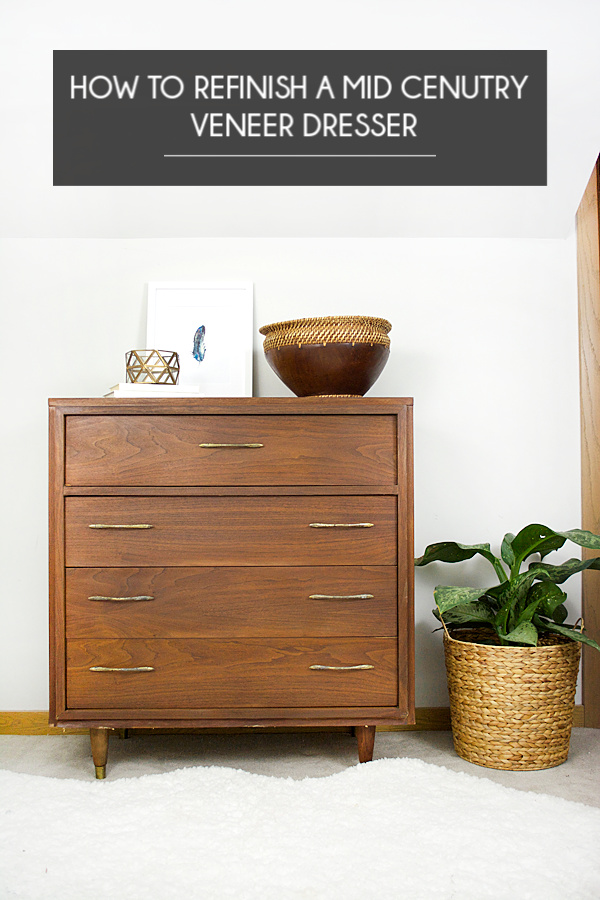
I applied two coats of this and let it dry outside overnight. There are definitely still some imperfections with the dresser but they aren't super apparent and I like the character it gives it. Plus for $40 you really can't beat it. A similar piece sold in stores would be well over $500.
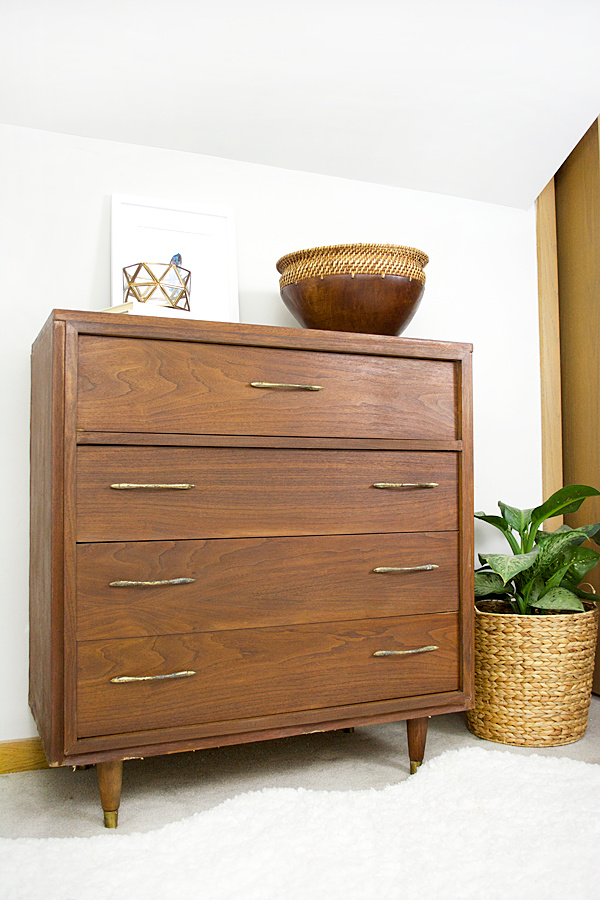
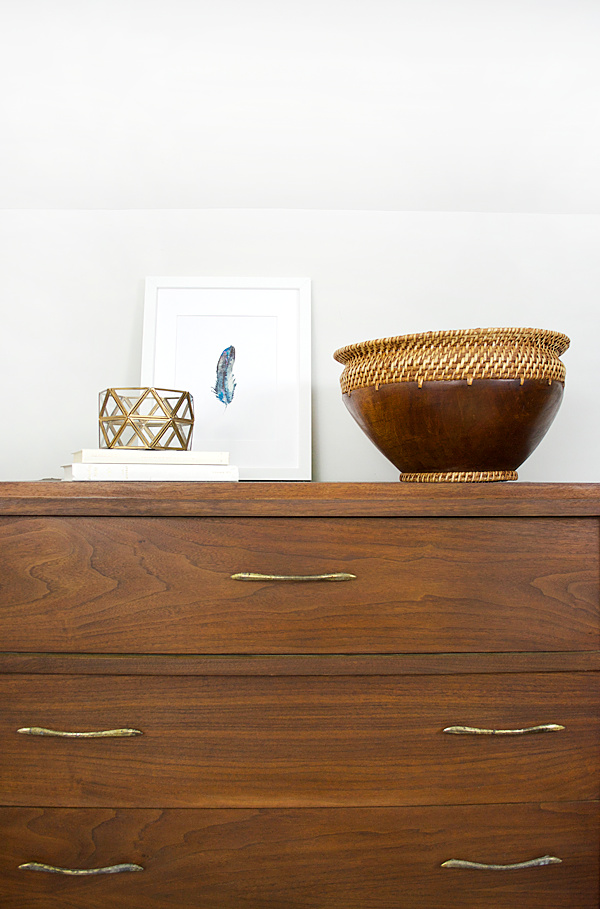
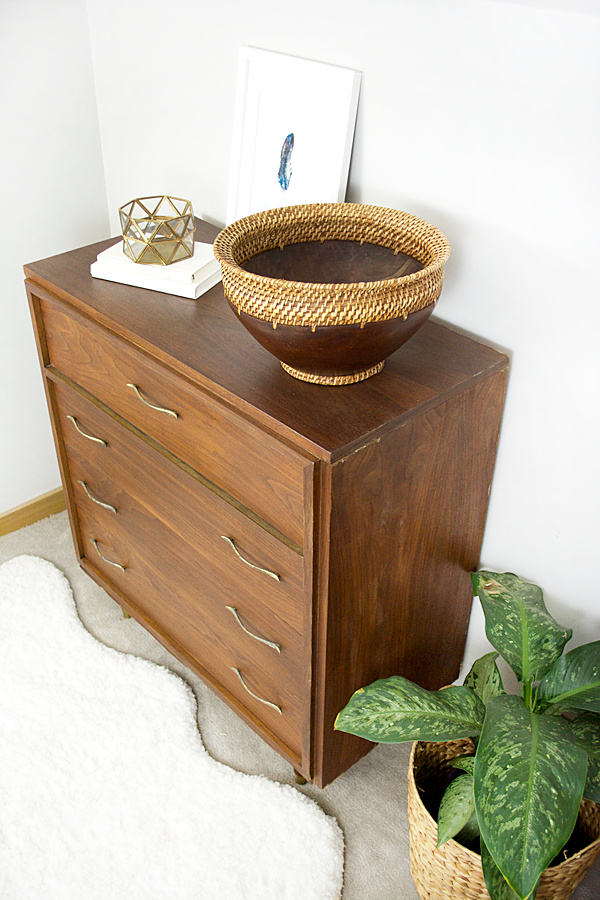
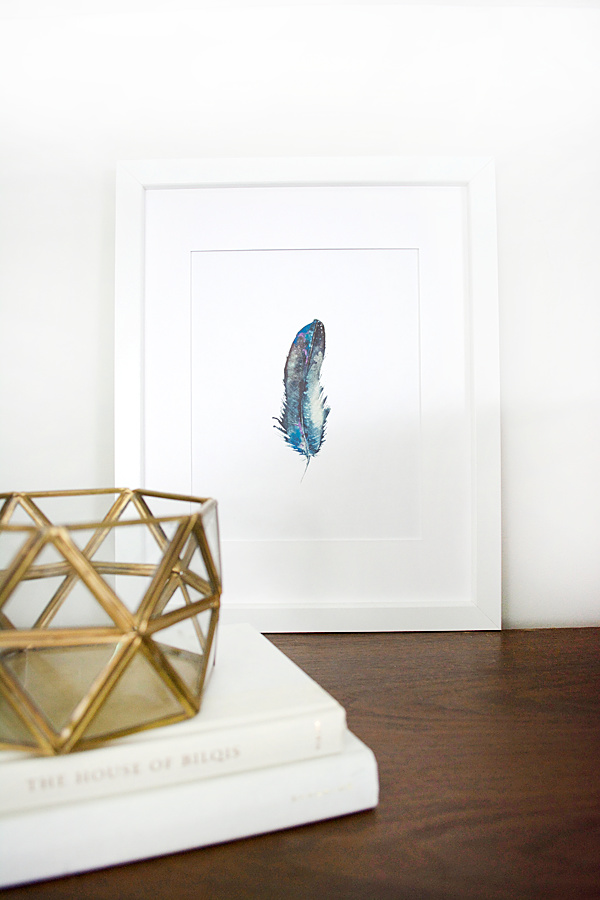
This gorgeous feather print is from Lucy at Craftberry Bush. She taught a watercolor class at Haven and gave everyone who attended this as a gift. Unfortunately I wasn't able to go, but she shared the digital file with all of us who were at the conference as well as on her blog. Which means you can print it out too. The colors are perfect and I'm totally jealous of her crazy talent. Get your Free Watercolor Feather Print.

Now if you find a dresser with a lot more detail and not as many clean, straight lines, this method won't work as well. It's still possible but you'd be doing a LOT of sanding by hand which can be a major pain. But it worked great on this guy and I saved some serious cash $$ which is always a win in my book.
Have you ever refinished a mid century veneer dresser? I'd love to hear if you have any additional tips or tricks that worked well for you!
hernandezbuied1973.blogspot.com
Source: https://www.brepurposed.com/2016/08/17/refinish-mid-century-veneer-dresser/

0 Response to "Vintage Refinished White Dark Wood Mid century Dresser"
Post a Comment